What we need for this tutorial:
- HTML and CSS
- JQuery and Bootstrap
- AnimeJS
- and your choice of editor
I downloaded all the assets and placed them in my assets directory so my directory will look like this:
- animations/assets/css/css-files-here
- animations/assets/js/js-files-here
Then I created index.html file and styles.css in my assets folder and then linked all css in header tag and linked all js files below the body.
So my index.html is looking like this:
<!doctype html>
<html lang="en">
<head>
    <meta charset="UTF-8">
    <meta name="viewport"
          content="width=device-width, user-scalable=no, initial-scale=1.0, maximum-scale=1.0, minimum-scale=1.0">
    <meta http-equiv="X-UA-Compatible" content="ie=edge">
    <title>Home - Programmer101N</title>
    <link rel="stylesheet" href="assets/css/bootstrap.min.css">
    <link rel="stylesheet" href="assets/css/styles.css">
</head>
<body>

</body>
<script src="assets/js/jquery.min.js"></script>
<script src="assets/js/bootstrap.min.js"></script>
<script src="assets/js/anime.js"></script>
</html>
Now it is time for Animation. So to do this we need to create an svg , let’s just make a div that will center everything. I’m going to give it class of d-flex,justify-content-center, align-items-center, min-vw-100 and min-vh-100 inside body.
<body>
    <div class="d-flex justify-content-center align-items-center min-vw-100 min-vh-100">

    </div>
</body>
I’m going to create svg now, so to do this, we need to create a div with class svg-holder and I’m going to paste my svg polygon inside the div we created.
<div class="svg-holder">
    <svg viewBox="0 0 215 110" preserveAspectRatio="none">
        <polygon class="polygon" points="215,110 0,110 0,0 215,0"></polygon>
    </svg>
</div>
Now I’m going to create two more divs with id of first-container and second-container respectively. With classes of align-items-center justify-content-center.
    </svg>
</div>
<div id="first-container" class="align-items-center justify-content-center">

</div>

<div id="second-container" class="align-items-center justify-content-center flex-column">

</div>
We are going to create two buttons for closing and openning. you can style it as you like but type the id as I did in mine.
<div id="first-container" class="align-items-center justify-content-center">
    <button id="open" class="btn btn-outline-light btn-lg">Click me</button>
</div>

<div id="second-container" class="align-items-center justify-content-center flex-column">
    <h1><strong>Programmer101N</strong></h1>
    <p class="text-center">Lorem ipsum dolor sit amet, consectetur adipisicing elit. Aut corporis dignissimos
        eligendi id impedit
        inventore iusto minus quasi sunt voluptatibus? Mollitia nam nesciunt nobis quaerat voluptates. Facere
        nesciunt placeat reiciendis.</p>
    <button id="close" class="btn btn-outline-dark btn-lg">Click to Close</button>
</div>
Now your code will look like this.
<body>
<div class="d-flex justify-content-center align-items-center min-vw-100 min-vh-100">
    <div class="svg-holder">
        <svg viewBox="0 0 215 110" preserveAspectRatio="none">
            <polygon class="polygon" points="215,110 0,110 0,0 215,0"></polygon>
        </svg>
    </div>
    <div id="first-container" class="align-items-center justify-content-center">
        <button id="open" class="btn btn-outline-light btn-lg">Click me</button>
    </div>

    <div id="second-container" class="align-items-center justify-content-center flex-column">
        <h1><strong>Programmer101N</strong></h1>
        <p class="text-center">Lorem ipsum dolor sit amet, consectetur adipisicing elit. Aut corporis dignissimos
            eligendi id impedit
            inventore iusto minus quasi sunt voluptatibus? Mollitia nam nesciunt nobis quaerat voluptates. Facere
            nesciunt placeat reiciendis.</p>
        <button id="close" class="btn btn-outline-dark btn-lg">Click to Close</button>
    </div>
</div>
</body>
Let’s now dive into css. Open your styles.css file you created. You can copy this css and change it as you prefer.
Remember Don’t Change Containers style.
.svg-holder {
	position: absolute;
	width: 100vw;
	height: 100vh;
	z-index: -100;
}

.svg-holder svg {
	width: 100%;
	height: 100%;
}

.polygon {
	background-color: #0d6efd;
	fill: #0d6efd;
}

#first-container,
#second-container {
    display: flex;
    position: absolute;
}

#second-container {
	width: 50%;
    opacity: 0;
    display: none;
}
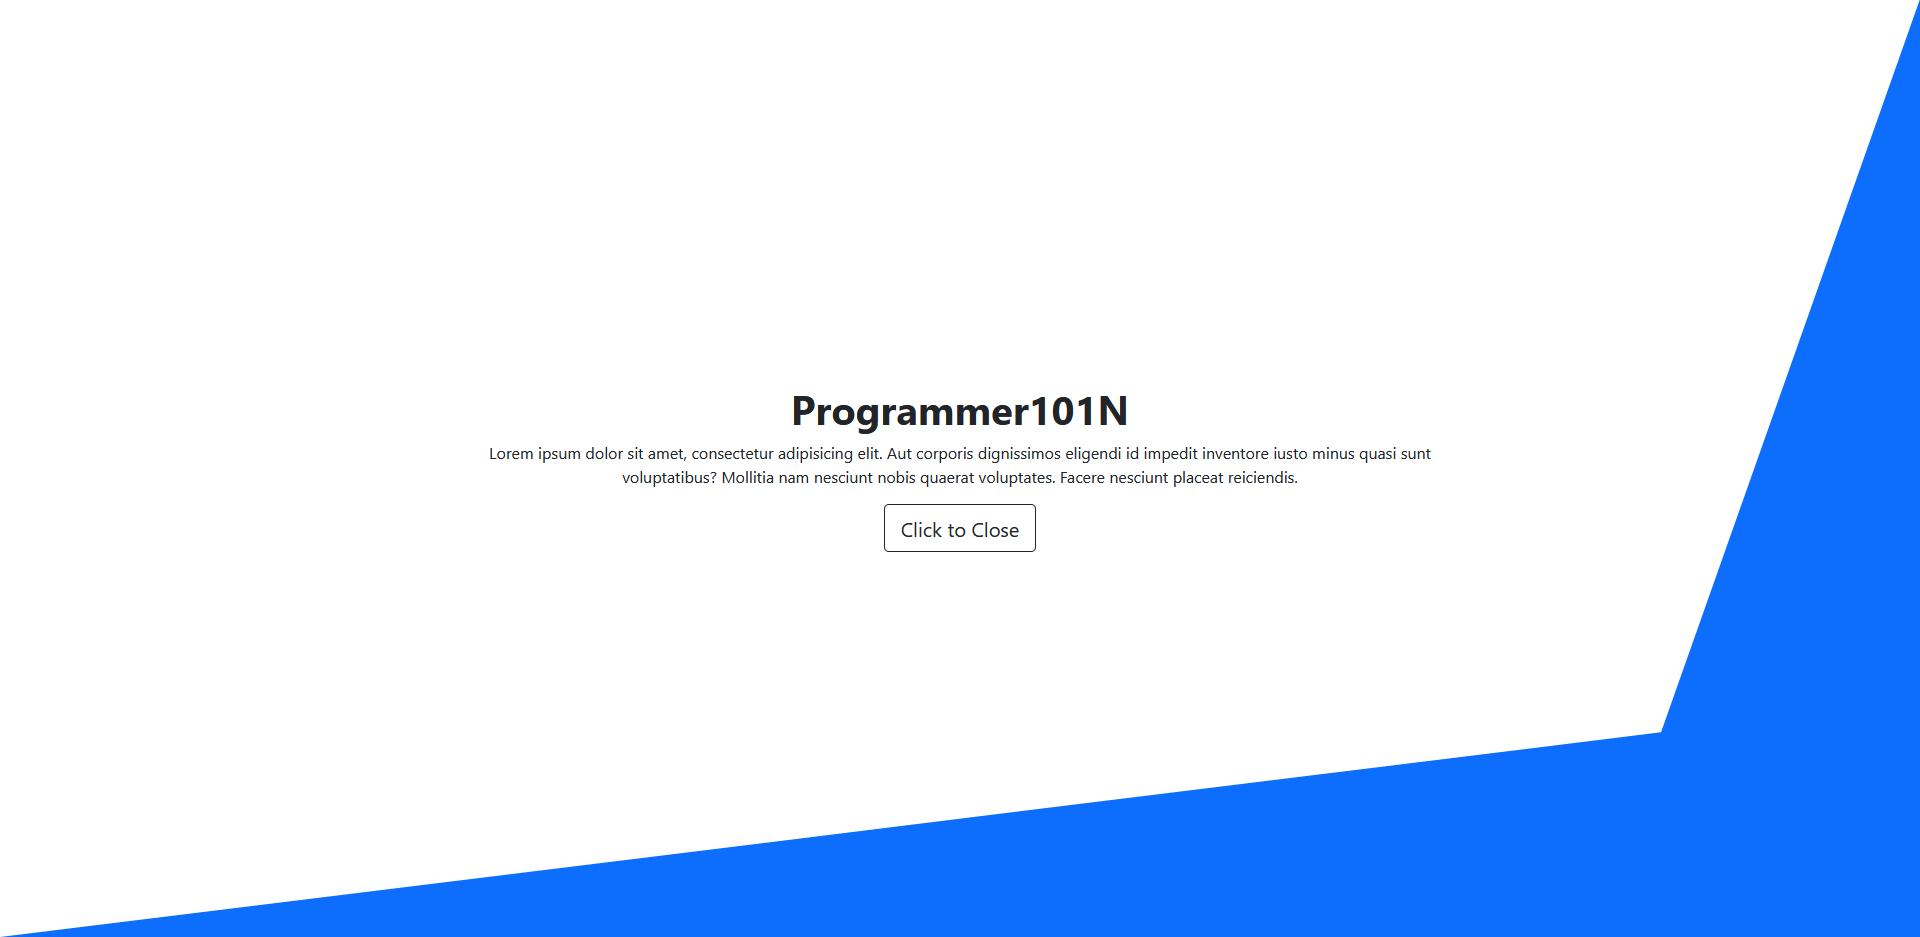
If you did this correctly, It should look like this.
Now let’s go to javascript. Go to last of your index.html file and create a script tag.
To do this we need to create function named openContainer.
<script>
    function openContainer(){

    }

</script>
I’m going to create new timeline with animejs. Timline is as follows:
- KeyFrames
- Animate Open Button to dissappear and set display to none so it’s not interactable.
- Set points of our polygon in svg.
- Animate Close button to appear and set display to flex so it’s interactable now.
function openContainer(){
    const newTimeline = anime.timeline({
        duration: 2500,
    });
    newTimeline.add({
        targets: "#first-container",
        duration: 500,
        translateX: ["0%", "25%"],
        opacity: [1, 0],
        complete: () => {
            $("#first-container").css('display', 'none');
        },
    });
    newTimeline.add({
        targets: '.polygon',
        points: '215,110 0,110 186,86 215,0',
        duration: 1000,
        easing: 'linear',
    });
    newTimeline.add({
        targets: '#second-container',
        translateY: ["-25%", "0%"],
        opacity: [0, 1],
        duration: 1000,
        begin: () => {
            $("#second-container").css('display', 'flex');
        }
    });
}
Our Open function is complete, Now let’s complete our close Function similarly.
I’m going to create another timeline with animejs. Timline is as follows:
- KeyFrames
- Animate Close Button to dissappear and set display to none so it’s not interactable.
- Set points of our polygon to default in svg.
- Animate Open button to appear and set display to flex so it’s interactable now.
function closeContainer(){
    const newTimeline = anime.timeline({
        duration: 2500,
    });
    newTimeline.add({
        targets: "#second-container",
        duration: 500,
        translateY: ["0%", "-25%"],
        opacity: [1, 0],
        complete: () => {
            $("#second-container").css('display', 'none');
        },
    });
    newTimeline.add({
        targets: '.polygon',
        points: '215,110 0,110 0,0 215,0',
        duration: 500,
        easing: 'linear',
    });
    newTimeline.add({
        targets: '#first-container',
        translateX: ["25%", "0%"],
        opacity: [0, 1],
        duration: 1000,
        begin: () => {
            $("#first-container").css('display', 'flex');
        }
    });
}
Now let’s bind our open and close button to our functions.
$("#open").click(openContainer);

$("#close").click(closeContainer);
Now Our Effect is Complete. If you do this now, the polygon will open and close.

You can download this source code from my Github.


